Showing posts with label Beef. Show all posts

Sunday, July 14, 2013

Meatball Tatertot Casserole


This is the easiest cheater recipe ever. I totally made it up one night when I was suffering from a migraine. Those things steal my days away sometime and I simply can't put a lot of effort into a meal. I still had to feed the family and this is what I dreamed up.

It was a complete shot in the dark. I am sure someone has thought of this before. It is that simple. 

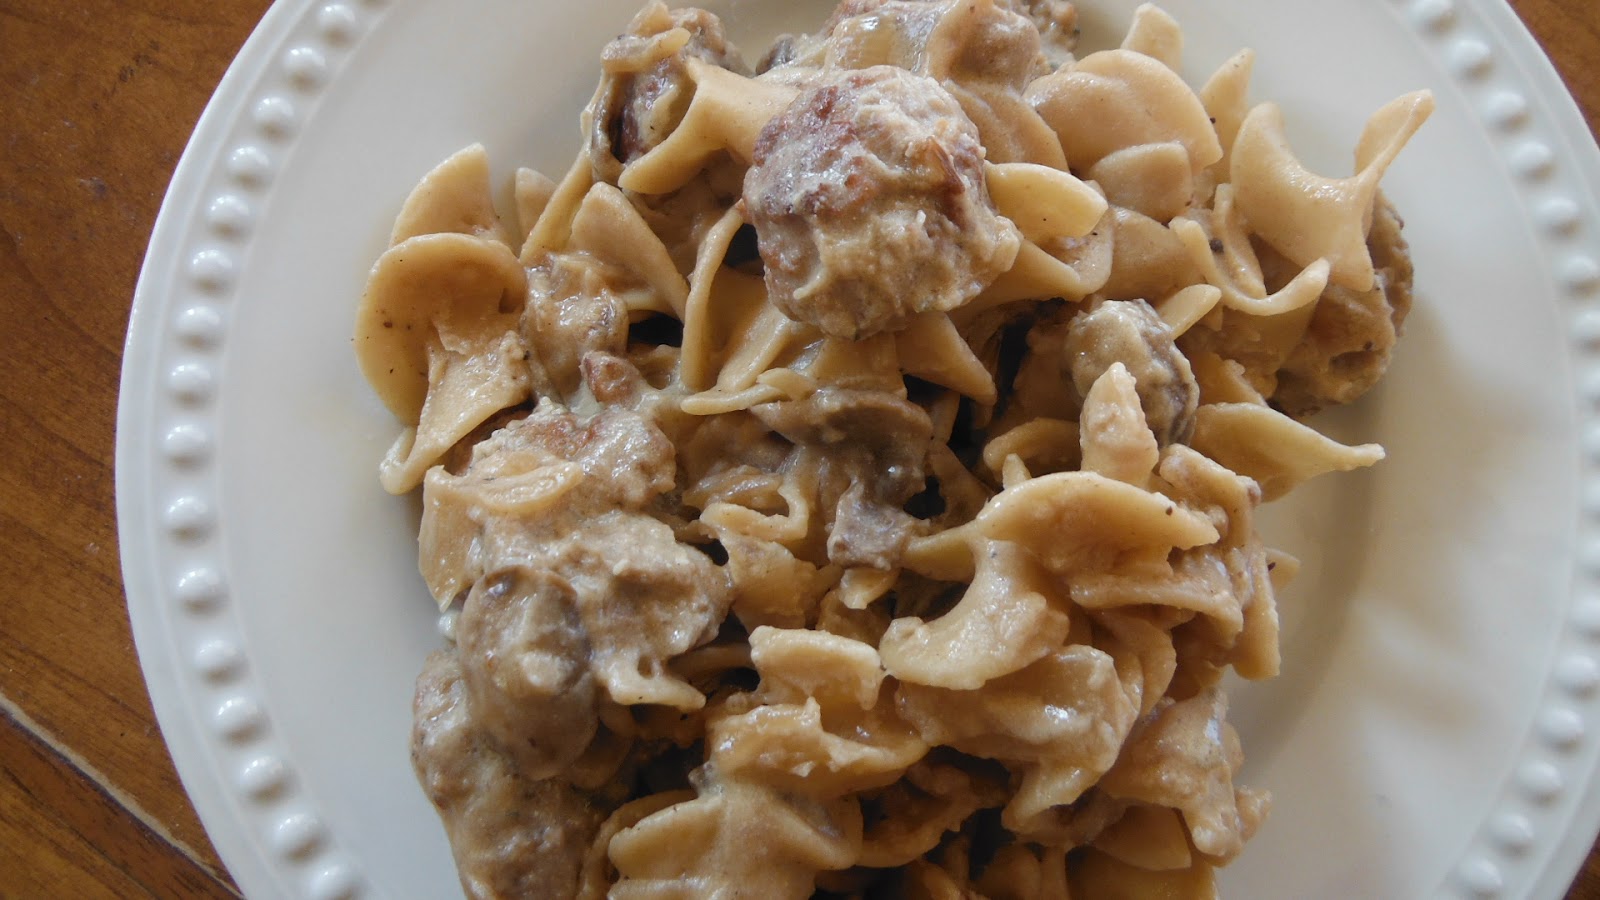
Funny part -- everybody liked it. My son and his friend even went back for seconds. Which is perfect because this is the kind of meal a college boy can easily make on his own someday. I have mentioned before that my son loves meatballs -- especially the frozen precooked meatballs that just need to be heated. Some day in college I know he is going to live off big bags of meatballs. This recipe is a great alternative from meatball subs and spaghetti.

Meatball Tatertot Casserole. 
1 Bag of frozen tatertots
About 20-25 meatballs
2 Cups of shredded cheddar cheese
1 20 oz can or larger of spaghetti/marinara sauce
1 red pepper sliced (optional)
1/4 cup Parmesan cheese

Heat oven to 450.
Line a 9x11 casserole dish with foil
Place frozen tater tots on bottom of casserole dish
Top with meatballs
Top with 1 cup cheese
Top with sliced peppers (if using. I only put them on half of the casserole)
Dump spaghetti sauce over the top.
Top with 1 more cup of cheese and  parmesan cheese.

Place in oven and cook 35-45 minutes or until meatballs and tater tots are heated through and cheese is melted.

Wednesday, February 6, 2013

Meatball Stroganoff


This recipe is hands down one of my favorites. It is simple, it is delicious and it is quick. It has a space in my big black book of recipes. But what if something happens to that big black book of recipes. Losing this recipe would be kind of tragic. 

Especially, since I want my children to have access to it when they go off to college someday. This is what I would consider an easy college recipe. I try to develop recipes for my children that they can both afford and make when they are on their own someday. And then I teach them how to make it.

I already know that my son is going to live off of meatball sandwiches in college. He loves those things and by purchasing a premade bag of meatballs he could probably feed himself for a week. He makes them for himself all the time now and he is only 14. As I fed him this the other night and he gushed over how much he prefers when I make it with meatballs as opposed to beef slices. (whatever wierdo.) I knew that this could be an alternative recipe for the big giant bag of meatballs I know he is going to buy to sustain himself someday. 
 

But it is pretty awesome for this Mom that needs something filling and fast to feed her hungry family on exhausting, busy weeknights. You could use your own meatballs. But I am not going to lie, I keep a bag of store bought meatballs in my freezer all the time just for dinner night emergencies. You can also substitute a chuck roast sliced thinly, or ground hamburger for this recipe as well.

Meatball Stroganoff. 
This fed 6 people (it can be cut in half)

About 20 meatballs (if using frozen, defrost for 1 minute in microwave)
1 onion chopped
12 Fresh mushrooms sliced
1 Tb of olive oil or vegetable oil.
1 packet of Onion Soup mix
3 TB of flour
3 Cups of hot beef broth. or 2 beef bullion cubes and 3 cups of hot water
salt and pepper to taste
1 Cup of Sour Cream
1 bag of egg noodles.

 Directions:
  • Heat oil in a large saute pan. 
  • Brown meatballs and add onions and mushrooms.
  • Once meatballs are tender, cut in half. Cook until onions are beginning to look transparent.
  • Sprinkle with soup mix and flour and stir to coat. 
  • Season with salt and pepper.
  • Add hot beef broth. 
  • Simmer on top of stove for about 10 minutes.
  • Meanwhile cook pasta to al dente. 
  • Stir in sour cream and serve immediately over noodles.


Tuesday, August 31, 2010

Philly Roast Beef Subs

I love a good Philly Cheese Steak sandwich. (I used to live in PA.) I also love a quick dinner solution. Which is how the Philly Roast Beef Sub was born in my house last week.

There are a couple of reasons I store extra meat in my food storage. I have been in dire times before and I know its a good idea to have a back up food plan. But I also love the convenience canned roast beef brings me on a late soccer game night. Of course, nobody needs to eat that roast beef straight out of the can. Just look at the tasy beautiful thing you can do with roast beef with just a few spices and ingenuity. Now this roast beef comes from my home canned quarts. You can learn all about how to can your own roast beef here. Feel free to use store bought canned roast beef or leftovers. It's all good.

I also used a green pepper and onion from my garden. It is my goal to eat something from my garden everyday during harvest season. I can't think of a more lovely way to use a green pepper.

I did get the seasoning (I slightly altered ) from the meat from a recipe for Philly Steak sandwich from user Swizzlesticks on allrecipes.com

The Philly Roast Sandwich

1 quart of roast beef, shredded. I would say that it turned out to be about 3 cups.
1/2 tsp salt
1/2 tsp black pepper
1.2 tsp chili powder
1/2 tsp onion sal
1/2 tsp garlic powder
1/2 tsp oregano
1/2 tsp basil or 1 tsp fres basil

1 onion sliced
1 green pepper, julienned
1/2 cup mushrooms (otional)
Slices of swiss or provolone cheese

4 Hoagie rolls.

1. Mix beef and spices together in a large microwavable bowl. Heat in microwave for 2 minutes.
2. Heat a Tb of oil in a skillet and saute onion, green pepper and mushrooms until tender.
3. Divide meat between rolls and top with onions and ppers. Top with cheese.
4. Place on cookie sheet and broil until cheese is melted. I leave my rolls open so the cheese melts and toasts and the bun gets a little crispy.

Thursday, July 15, 2010

Canned Roast Beef

This spring my husband went and bought himself a flat screen TV and so I only thought it fair that I should get to buy a pressure canner. I finally used my giant kitchen toy to can some roast beef. Now the first time I ever canned meat (with a borrowed pressure canner) I was a little scared. But with a little study I discovered that as long as you follow the procedure correctly it is simple and safe. Not only that, it tastes better and costs less than the store bought canned meat. It is however a lengthy process and requires a little time to be set aside -  a good 2 hours. But I say anytime you can cook several dinners at once it is worth the time.

Roast beef went on sale for $1.68 a pound and that meant I was going to buy a lot. I tried this recipe two ways. I went through the laborious process of trimming and chopping one package by myself. I had the butcher chunk the other package which was much easier but resulted in a lot of fat. I would recommend doing the chunking and trimming yourself. You can see in the above picture that there is a good bit of fat in this jar. I use raw pack because it is less mess and fewer steps. The meat cooks in the jar in the pressure canner.

The process: Raw Pack
Sanitize canning jars by boiling upside down in hot water for at least 10 minutes or use the sanitize setting on your dishwasher and keep warm until ready to use. Prepare lids and rings according to manufacturers directions.

Prepare meat by trimming fat and cutting into large chunks.

Add 1/2 tsp canning salt per pint of meat, 1 tsp per quart. Do not use regular salt or you will have a cloudy consistency in your finished product. Canning salt can be found in the preserving or canning section of the grocery store.

Stuff meat into sanitized jars to within 1 inch of the rim.
DO NOT ADD WATER!

Top jars with lids and rings and place on rack in pressure canner. Do not can meat in a steamer. Pressure canning meat is the only safe way to can your meat.

PRESSURE
Pretty easy. The lengthy part is next as you babysit the pressure canner. Please read your pressure canner instructions carefully they should indicate the pressure needed for your elevation.
I process my meat at 15 lbs but I am over 6,000 feet above sea level. My manufacturing instructions indicate the proper pressure for elevations. The proper pressure is vital. If you can not determine the proper pressure for your elevation please contact your local extension service.

PROCESSING
Make sure you install your lid and follow your directions carefully as you close your pressure canner and determine the time to begin timing. Pints must be processed for 75 minutes and quarts for 95 minutes. Make sure you keep an eye on your pressure gauge. It will fluctuate and the heat on your stove will need to be occasionally adjusted to ensure it remains at the proper pressure.

Once your buzzer goes off turn off heat and allow pressure canner to cool completely before removing lid. Your instructions will tell you how to tell if your canner is cooled completely. Estimate at least 1/2 hour to 1 hour for cool down. Once your pressure canner is opened carefully remove your cans and place on a clean towel on counter. Do not place directly onto a cold surface or the cans may break.

Lids will pop and have an indentation in the center if they are properly sealed. If they have not sealed within a few hours you will need to reprocess your cans.

Wednesday, May 12, 2010

Creamy Hamburger Stew

It snowed in Southern Utah today, it snowed last week and the week before that. We are all a little ticked off here. We are cold and we want our sun back. Hey, I will even take the wind if it would just warm up and be Spring. So, that is my preface to a blog post on a creamy hearty stew recipe being offered up in May. Sometimes when you are feeling a little put out by the weather you just need warm comfort food, And this stew hits the spot. You should have seen the dissapointment when I announced that weekly soup day was a thing of the past for the next few months last week when I served up this family (and mommy favorite). WHAT? WHY? "Because it is just going to be too hot," I told my loyal soup  lovers. And then it went and snowed again today and I realized there will be a few cold blustery days ahead of us (and they better be just a few) and we,and maybe you, will need a good comforting soup to warm yourself up.


I have been making this easy soup that relies on basic veggies and pantry staples for years. You can also make substitutions and this soup still works. Substitutions below.

1 lb hamburger
1 tbsp of montreal steak seasoning.
1 tbsp of steak sauce (a.k.a A1)
3 Tb of dehydrated onions or 1/2 Cup onion chopped
1 tsp of garlic powder.

2 Cups of tomato juice or 1 1/2 Cups tomato sauce plus 1/2 cup to 1 Cup of water.
1 C. Potatoes, peeled and cubed
1 C. Carrots, sliced thin or shredded
1 C. or 1 Can of corn, drained. or 1 C. Lima beans
1 to 1  1/2 tsp salt
1 cup fresh swiss chard leaves or spinach leaves (optional)

White Sauce
2 T. butter
2 T. flour
2 C milk

Brown hamburger in large skillet with seasonings and onions.

Add tomato juice or sauce/water, vegetables and salt. Cover and simmer until veggies are soft. Add more water if you feel it is too thick for your taste. But remember we are adding a white sauce later.

In a small saucepan melt butter and stir in flour. Add milk and simmer until just thickened. Stir into hot stew and serve.

TIP: The key to a really flavorful hamburger stew is seasoning your hamburger well in the beginning. Bland hamburger equals bland stew.

Friday, March 26, 2010

Roast Beef Turnovers with Au Jus


Featured Food Storage or Pantry Item: Canned Beef,onion soup mix
Suggested Pantry Item: Au Jus mix. A fast fix for those busy nights.

Maybe I just like to say the word "Au Jus." I did take French for six years, my grandmother was French, I have been to France. Au Jus just makes me feel special. And apparently it makes my children feel special too. Because they were just delighted to use their fingers to dip these little turnovers into their own au jus. The rest of this recipe is definitely simple. I did not roast my beef all day in the oven. I can almost see my Grandma meme's lips puckering in displeasure. No, I experimented with my food storage canned roast beef and gravy. Seriously, I love that stuff. As far as canned meat goes, I am a fan of beef. However this recipe will go just as well with homemade roast beef. I love that stuff too. In fact, this is a perfect recipe for those roast beef leftovers. 

The pastry on these is easy to make and has a nice tangy subtle flavor that accents the beef and Au Jus. Plus they are just fun. The original recipe called for cottage cheese. I used sour cream -- because that is what I had. These are a fun dish that have made it into my big black book of recipes. They are keepers and fun for the kids.

Crust
1 C margarine
1 C sour cream or cottage cheese
2 to 2 1/2 Cups of flour
Dash of Salt

Filling
1 16 oz can of beef in gravy
1/2 pkg onion soup mix

Au Jus --
Au Jus Mix and water

Preheat oven to 375 degrees.

Combine crust ingredients (start with 2 cups of flour) and mix until dough forms ball. If dough is too moist add flour in small increments until desired consistency. Dough will be a little sticky but should make a ball and should be easy to roll out.

Roll out dough on a floured board and cut softball size circles. I just used the top of a glass tumbler. This made about 15 turnovers. Place circles on a parchment paper lined cookie sheet

Combine filling ingredients and place  heaping tablespoon in center of each circle. Fold over to make half circle. Pinch closed and seal with the tines of a fork. Bake for approximately 30 mins, or until golden and firm.

Heat au jus mix and water on stove according to directions. Serve with warm roast beef turnovers.

LinkWithin

Blog Widget by LinkWithin